Showing posts with label Templates. Show all posts

Sunday, August 20, 2017

Delilah Quilt - Block 5

Yes, it's August, but we're heading back to July for the next installment in the Delilah Quilt. Block 5 is the North Star block, measuring in at 9 inches finished.  This month required making five of these blocks.  While they were easier to sew than other months (no curves), the cutting was a little trickier. I'll explain.


There are three shapes to this block.  For each fabric you need to cut four pieces from that fabric if you are sticking to a less scrappy version of the block, which I am here.  These pieces are directional, so if you want to cut more than one piece at a time, you need to make sure all four pieces of fabric are one side up (right or wrong side).  The triangular shape of two of the pieces lends itself to using a rectangle to get four pieces out of two rectangles of fabric.  For each shape I estimated the size of the rectangle needed by laying the template down and then turning it to 'nest' onto the other side of the rectangle on its long side.   I cut two rectangles, laid the fabrics either both right side up or both wrong side up, cut the first piece (yield 2), turn the template to fit the rest of the rectangle and cut again (yield 2).  Now you have all four pieces with two cuts and little fabric waste. For the larger background shape I cut four rectangles of fabric and stacked them all right or wrong side up and cut four at once.  


You might be saying, what's with all the right and wrong sides.  Remember these are directional pieces.  If you stack the fabric and cut your set of four with the fabric right side up you'll get one set of shapes you need.  With the next set of fabric, lay the template down the same way, but turn your fabric stack all wrong side up and you'll get the opposite or reverse of the shape.  This way if you are using something sticky on one side of your template you don't have to gum up the other side of the template.  Flip your fabric, not your template.  


One last thing with these blocks.  I didn't follow the directions...what!  I sewed the first two blocks together following the directions exactly, and I had some issues with getting the block flat.  You are supposed to make each unit (three pieces) and its reverse and sew those together to make a square quarter of the block.  Then sew each square quadrant onto another and then each rectangle into the full block (think horizontal and vertical + quadrants).  I found it much better to sew each unit and its reverse along the straight side of the longer triangle piece, making a triangular quarter unit.  Then I sewed two of those together into half of the block on the diagonal, and then joined those two triangles into the finished block (think diagonal X quadrants).  It was easier to match seams and the whole block was much flatter.  


Went a little pink with these, but here's something different.  I'm happy with the additional variety of background fabrics I used on this set of blocks.  If you read my last post you will see what was happening previously with my backgrounds.    


Do you always follow directions or do you find yourself finding other methods that work better than what the pattern tells you to do?  

The blocks are adding up nicely!  Keep checking my Delilah board for more inspiration or follow along on instagram @sewsomesunshine.  See you soon for Block 6.

Tuesday, May 30, 2017

Delilah Quilt - Block 3

Back for the third block from the Delilah Template of the Month from Jen Kingwell!  This was a fun one, glad for a break from the curves of the previous two months.  (I'm pretty sure curves are back on block 4...we'll see soon.)  Even though these are made of many different fabrics, I stuck to a consistent color scheme for each component in the block.  I made the center, star, square, and background in the same color within each block.


So far in all of my Delilah blocks I've used fabric from Cotton + Steel, Leah Duncan, Jen Kingwell, Anna Maria Horner, Denyse Schmidt, Basic Grey, Joel Dewberry, Victoria Findlay Wolfe, Dear Stella, Amy Ellis, Katerina Roccella, Carolyn Freidlander, and Kaye England.  Here's a recap so far:


Access sewing tips for the first two blocks by clicking on the block name links above, and be sure to check out this Delilah board for great inspiration.  If you are working on this quilt and would like to share your blocks, please link up below.  


Friday, May 26, 2017

Big Star Finish

Last weekend I gave away this lovely quilt to my cousin for her wedding shower.  This is the Big Star quilt pattern by Victoria Findlay Wolfe.  It uses a large diamond template and the fabric is from Victoria's Mostly Manor collection.


I loved making this quilt, as it was a skill builder for me as a quilter.  I learned how to do y-seams confidently with this one.  I've already put that technique to use in another quilt I'm working on here with a mitered corner border.


At first I cringed at the amount of leftover fabric from the fussy cutting required for this kaleidoscope effect.  But the result was worth it.  Now I can't stop looking for fabrics to do this with again.  In the end, I've used a lot of the extra fabric for smaller versions of this block.  These finish at 40 inches square.


The fabulous rose floral quilting is by Alison Black at AB Quilting Studio.  Here's the backing fabric, from the Meadow Storm collection, also by Victoria Findlay Wolfe.


This is a finish for Quarter 2 of the 2017 Finish-A-Long.

Linking up with My Quilt Infatuation , Crazy Mom Quilts,  and TGIFF.

Sunday, April 16, 2017

Delilah Quilt - Block 2

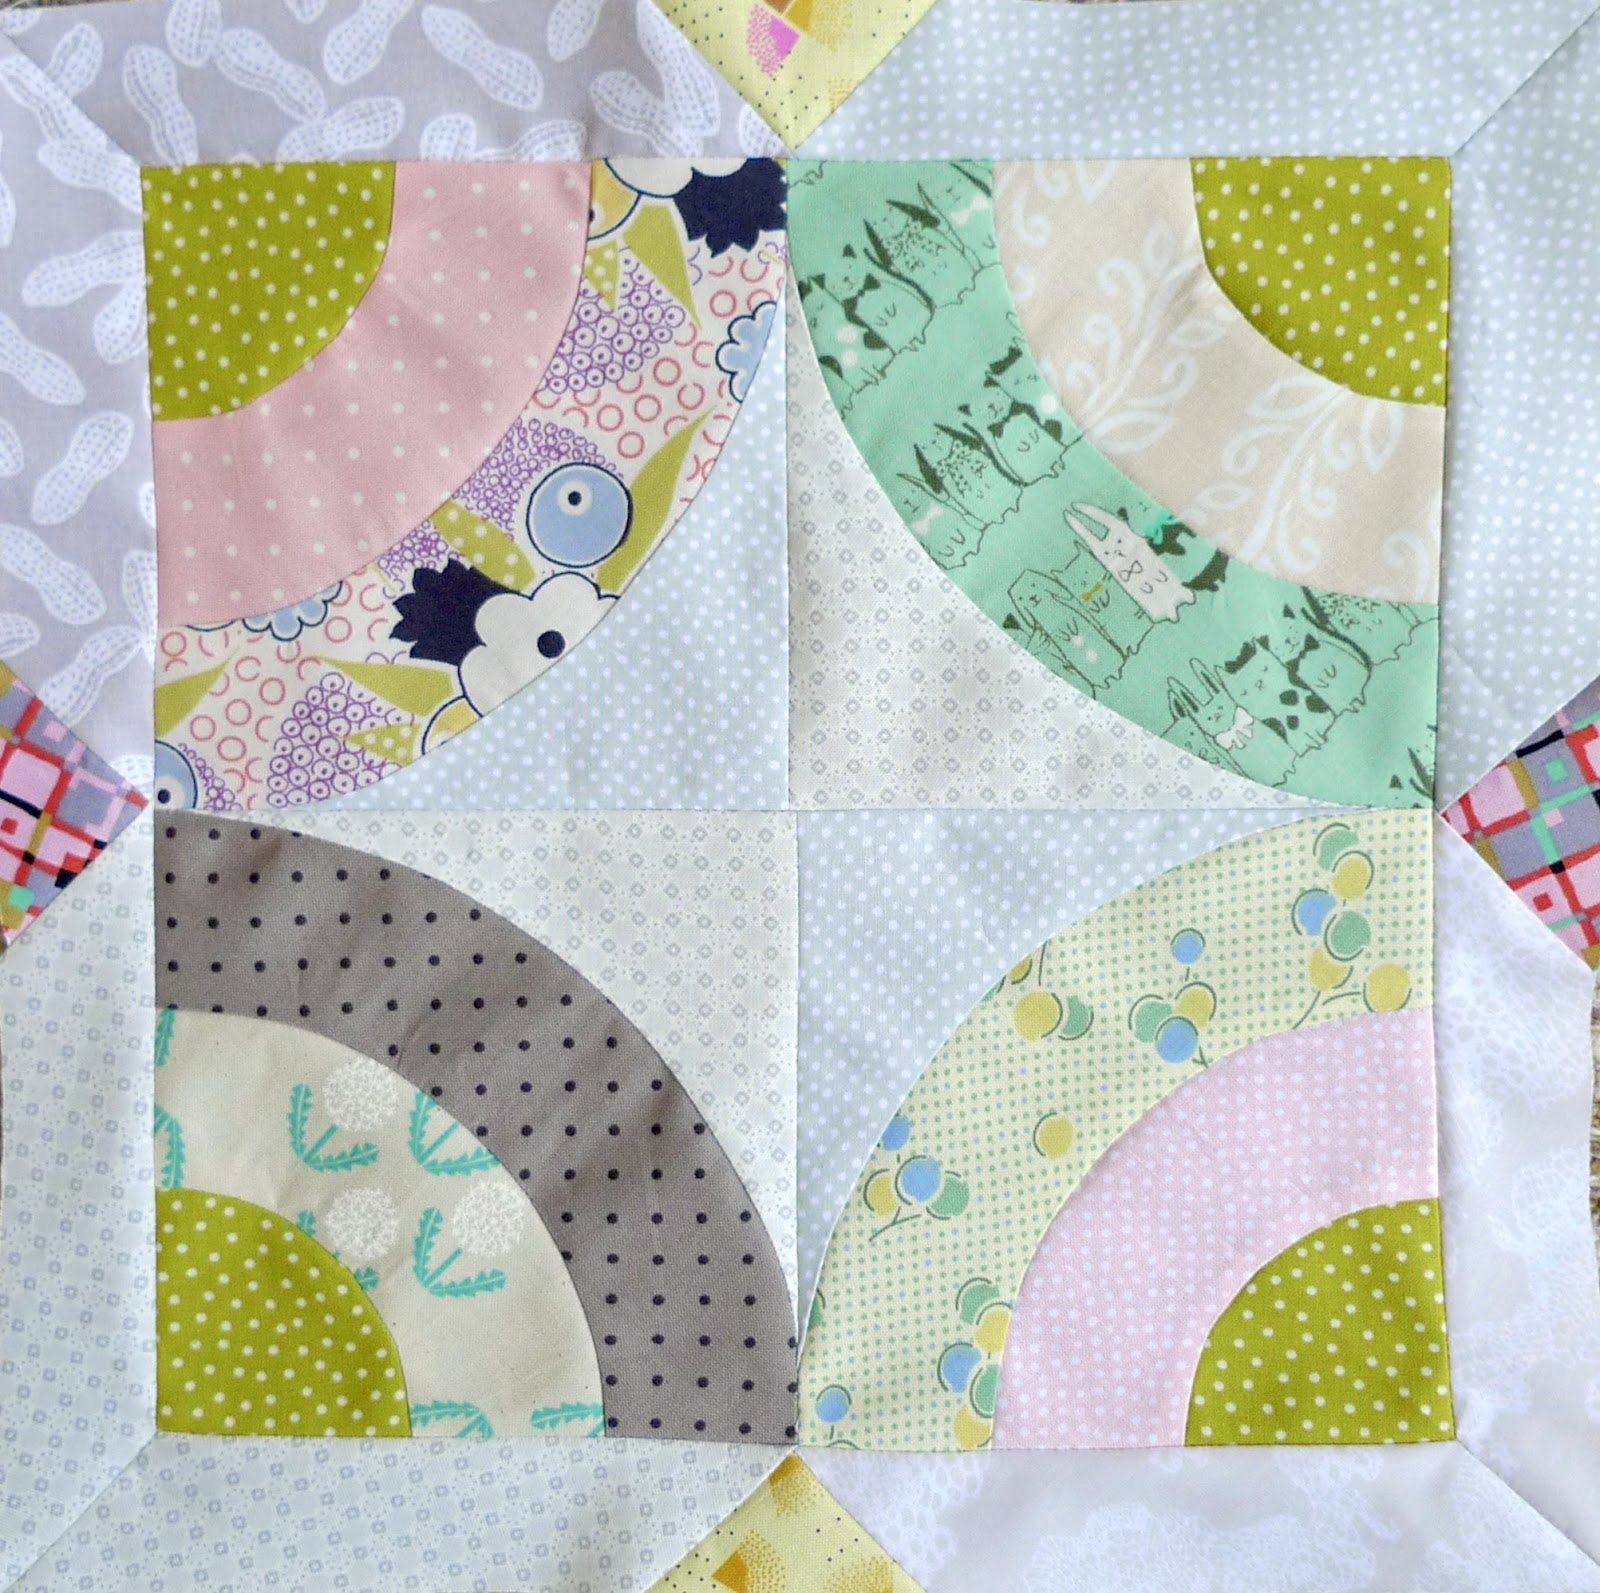
April brings us block 2 of the Delilah Quilt Template of the Month by Jen Kingwell.  This is Bells Beach, another block filled with curves and a mitered corner border.  This block takes curves to another level with three rounds for each set.  I'm continuing to enjoy choosing fabrics for this quilt along with cutting out all (28!) of the pieces.

Block 2 - Bells Beach


Tips for the Bells Beach block:
  • Watch this video to get started learning how to sew curves and then practice before you use your good fabric:  Sew Easy: Piecing Curves 
  • With these small curves, I found it helpful to lift my presser foot a few times to adjust the bulk of the top fabric while I sewed the curves.  Make sure your needle is down, go slow and be patient, you can do it!
  • Cut template piece nine with two layers of fabric wrong sides together and you'll have the piece and it's reverse, no need to flip the template over.  (Unless you want each piece to have different fabric, then you'll need to cut the reverse.)
  • I used a y-seam technique from this video by Victoria Findlay Wolfe to do the mitered corners. Watch from time 4:40 - 6:00, which demonstrates how to line up the two corners and sew into the seam at a quarter inch and pivot to sew down the other seam.  


For tips on Block 1 - Rising Sun, visit the Block 1 Delilah Quilt post.  Also be sure to check out my Delilah Quilt board for great inspiration as we sew this fabulous quilt.  Link up below if you'd like to share your work this month.  


Tuesday, March 14, 2017

Delilah Quilt - Block 1

March is here along with the first month of the Delilah Quilt template of the month program, designed by Jen Kingwell.  This quilt is an exciting challenge for all quilters, and I'm excited to be participating in this program.  This amazing quilt pattern includes using acrylic templates, sewing y-seams and curves, along with 6, 9, and 12 inch blocks...whew!

Each month as I work through the blocks I'll post an update including some tips.  I'd love to see what everyone is creating so please join the linkup below.  If you're looking for more inspiration check out this Pinterest board for great ideas.  So far the fabric choices are looking wonderful, can't wait to see more.

Block 1 - Rising Sun


Tips for working with the templates:

  • Cut your fabric into smaller pieces that will accommodate what you are cutting without a lot of leftover.  This will stop you from 'dragging' around a bunch of fabric as you cut.
  • Add a piece of painters tape to the bottom of your template so it sticks to the fabric so the template doesn't slip when you are cutting.  
  • If you can splurge, get a rotating cutting mat, it makes cutting so much easier.
  • Use a small rotary cutter, either 18mm or 28mm.  
Tips for the Rising Sun block:
  • Watch this video to get started learning how to sew curves and then practice before you use your good fabric:  Sew Easy: Piecing Curves 
  • With these small curves, I found it helpful to lift my presser foot a few times to adjust the bulk of the top fabric while I sewed the curves.  Make sure your needle is down, go slow and be patient, you can do it!
  • I used a combination of open and to the side seams while ironing.  Iron the half moon units with open seams.  You can press the quarter moon units to the side.  I ironed the rows with open seams.  
There is so much to love about the challenge of this project, especially choosing your fabrics and learning new techniques.  Enjoy the process and celebrate what you make!